

Requirements
USB debugging enabled
Settings => About phone => Click 7 times on Android Build to unlock developer options
Allow mock locations
Settings => Developer Settings
adb drivers installed
Firmware < October 2014 (kernel and system)[/b]
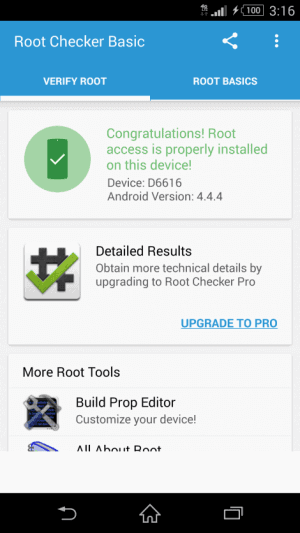
1a. Root your Device
1. Download the tool (latest version) and extract it
2. Start your device and plug it to your computer
3. Put your device in air plane mode
4. Run install.bat and follow the instructions on screen
https://mega.co.nz/#!31xQCYhZ!ZP4Z11e1s ... Rgb0L15IfM
1b. Root for T-Mobile Variant (D6616)
1. Download the attachment
2. Install Java Development Kit (if not installed yet)
3. Run exploit.bat
4. Let it run until you see the following line

5. Run root.bat inside folder root
6. Wait for reboot and enjoy root
https://mega.co.nz/#!6wJkgKYC!ICCKF0_sf ... dx5-s8cinE
2. Backup TA Partition
Backup TA can backup and restore the TA partition of the device. When you create a backup before unlocking for the first time, then you will be able to restore to full factory state (including a locked bootloader). This means all DRM keys intact, Bravia Engine working in Album and last but not least your warranty when needed .
1. Download the latest version of Backup TA.
2. Extract the ZIP file to a folder location of your choosing.
3. Navigate to the folder location of Backup TA.
4. Make sure no other script or application which is using ADB is running.
5. Make sure the device is booted in normal mode (the way you normally use it).
6. Run Backup-TA.bat
https://mega.co.nz/#!yw42yALS!2XycbdWMq ... LU1Q12DIWA
Verified By Hackinformer Blogger 8BitBang
https://www.youtube.com/watch?v=kva9-rAPG5s
3. XZDualRecovery
This application will install these recoverys and this app
PhilZ Touch 6.59.0
CWM 6.0.5.0
TWRP 2.8.6.0
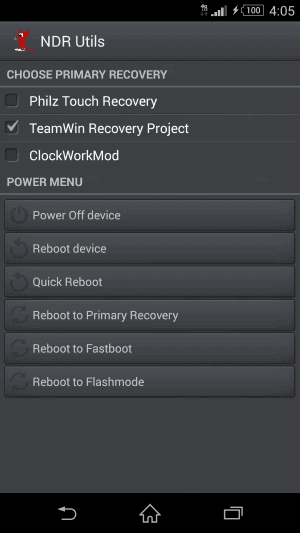
NDRUtils app (Used for managing recoverys and gives you boot options)
https://mega.co.nz/#!r8Y3BQqb!gkalZHhR7 ... 6j-GZcqdjc
How to install (PC Method)
1. Extract Files
2. navigate to the resulting directory and look for install.bat, double click it to run;
3. The phone will reboot into recovery and you can exit recovery safely
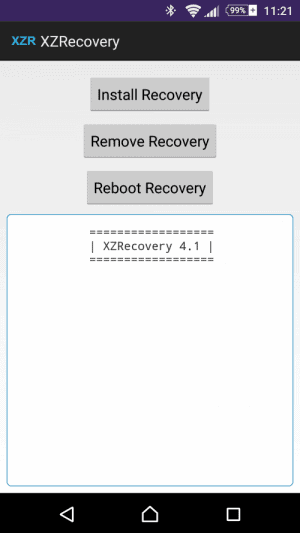
How to install (XZRecovery APP)
1. Download APK and install it, be sure to allow third party installs in settings>security>unknown sources
2. Install BusyBox via Google Play Store
3. Select the Install Recovery option
4. The app will request Root Access and allow root privilege
5. The phone will reboot into recovery and you can exit recovery safely
https://www.androidfilehost.com/?fid=95916177934556263
How to Use XZDualRecovery
At boot, once you feel the phone vibrate and while you see the green led burn:
- press VOL-UP for PhilZ Touch;
- press VOL-DOWN for TWRP.
To enter Vanilla CWM, you will need to use the NDRUtils app the recovery installed.
How to remove XZDualRecovery
Delete the following files:
/system/bin/recovery.twrp.cpio.lzma (or .tar)
/system/bin/recovery.cwm.cpio.lzma (or .tar)
/system/bin/recovery.philz.cpio.lzma
/system/bin/charger
/system/bin/ric
/system/bin/chargemon
/system/bin/dualrecovery.sh
Then inside */system/bin/ rename chargemon.stock to chargemon check its permissions (should be 755 or otherwise visible as -rwxr-x-r-x). Done!
If you wish to remove XZRecovery from the PC method install easier, just reinstall XZDualRecovery using the XZRecovery APK method. Then select the remove recovery option in the XZRecovery app. If you used the XZRecovery APK method simply select remove recovery option.
4. Make Nandroid Backup
Once your done with all the steps make a Nandroid Backup by booting into TWRP and selecting the Backup Option. This video will help you with making a backup and how to restore using your backup
https://www.youtube.com/watch?v=bPeIBYvM6jM
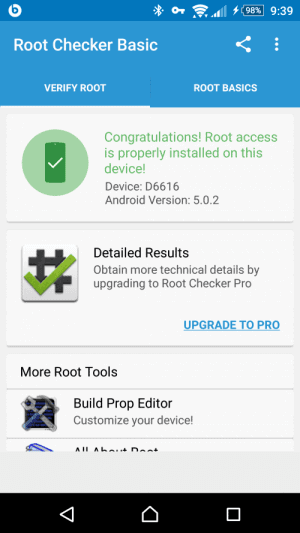
5. Update 4.4.4 Root to 5.0.2
If your on 5.0.2 and have not rooted previously, go to step 3.
1. Remove XZDualRecovery
2. Update phone, settings>about phone>Software Update
3. Download King Root 4.1 apk and install, be sure to allow third party installs in settings>security>unknown sources
4. The app will autoroot and install Root Managament App Kinguser and Battery Management app
5. Backup TA Partition/DRM keys (4.4.4 users can skip this step if you previously made this backup)
6. Use the XZRecovery APK method to install XZDualRecovery
7. Make Nandroid Backup
8. If your not able to update google play services, simply uninstall and reinstall
http://forum.xda-developers.com/devdb/p ... /?id=12586
Verified by Hackinformer Blogger 8BitBang
All this is possible thanks to the following devs been sure to give them donations for all their hard work: zxz0O0, Keen Team, DevShaft, hqdvista, [NUT], Chainfire, MohammadAG, idler1984, RHBH, squabbi, minijaws, Kingxteam and Desperanto86.
source